Skip to content
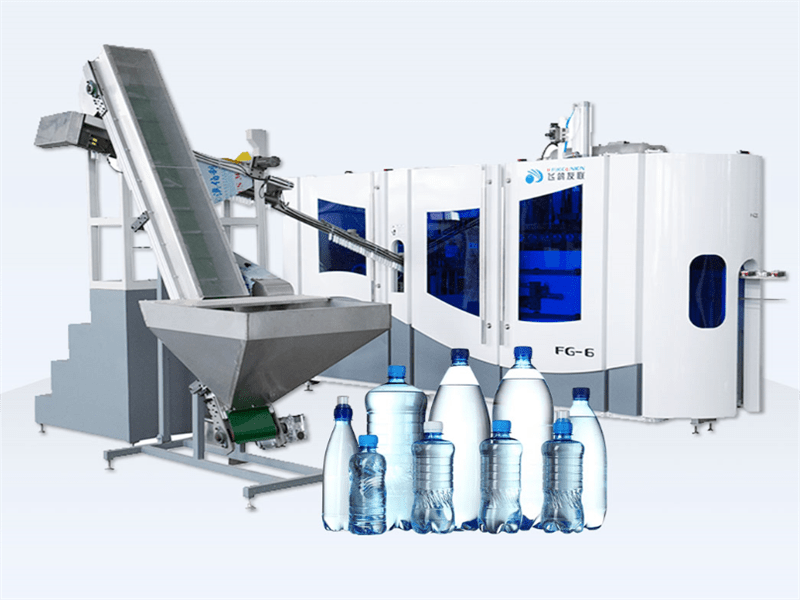
PET Blowing Machine Setup, Operation & Troubleshooting Guide: Automatic vs. Semi-Auto

1. How to Set Up a PET Blowing Machine
Proper setup ensures consistent bottle quality and reduces operational hiccups. Follow these steps to optimize your machine’s performance.
Pre-Setup Checklist
Before powering up your PET blowing machine, ensure you have:
Tools: Molds, heaters, air compressors, calibration instruments.
Safety Gear: Heat-resistant gloves, goggles, and insulated tools.
Machine Manual: Brand-specific guidelines for temperature ranges, pressure limits, and maintenance.
Step-by-Step Setup Process
Step 1: Mold Installation & Alignment
Clean molds thoroughly to remove debris or residue.
Secure molds onto the machine using bolts or clamps.
Align molds with laser-guided tools (for precision) or manual calipers.
Pro Tip: Misaligned molds cause uneven bottle walls. Double-check alignment before heating.
Step 2: Temperature & Pressure Calibration
Heating Stage:
Set oven zones to 90–110°C (194–230°F) for PET preforms.
Adjust zone temperatures based on preform thickness (thicker preforms require higher heat).
Blowing Stage:
Set air pressure to 25–40 bar (362–580 psi) for optimal stretch-blow molding.
Use a pressure gauge to verify consistency.
Step 3: Test with a Sample Preform
Load a PET preform into the machine.
Run a test cycle to check:
Bottle wall thickness (use ultrasonic thickness gauges).
Seal integrity (pressurize the bottle to detect leaks).
Adjust settings if the sample fails quality checks.
Automatic vs. Semi-Auto Setup Differences
| Factor | Automatic PET Blowing Machine | Semi-Auto PET Blowing Machine |
|---|---|---|
| Setup Time | 2–4 hours (pre-programmed profiles) | 4–6 hours (manual adjustments) |
| Mold Loading | Fully automated | Manual loading required |
| Calibration | Sensor-driven adjustments | Operator-dependent tweaks |
Key Takeaway: Automatic machines streamline setup but require upfront programming. Semi-auto models demand hands-on expertise.

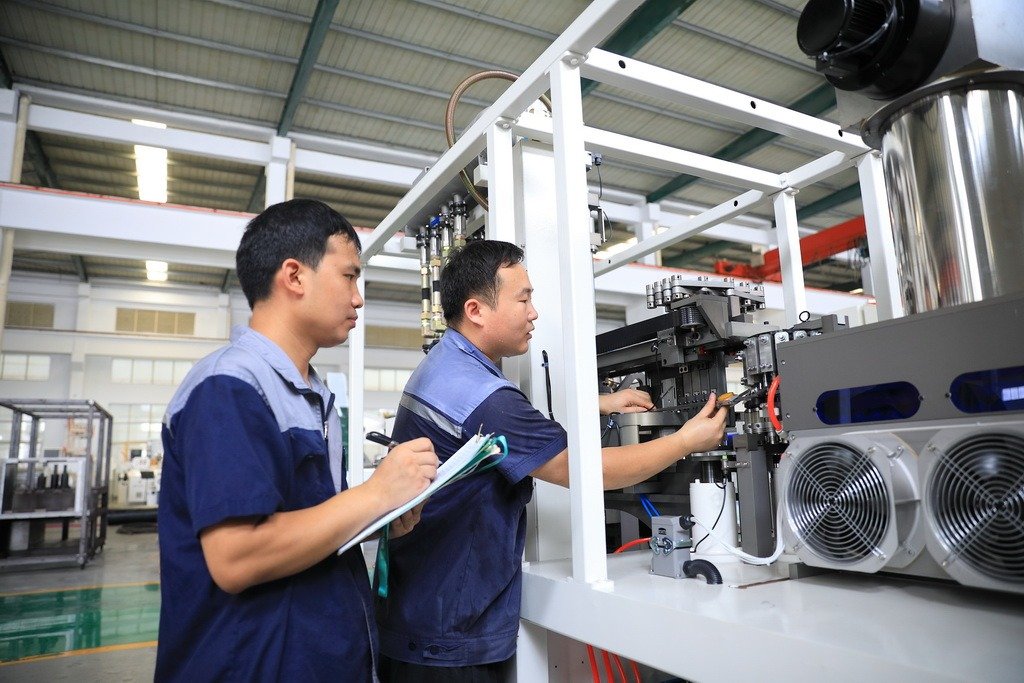
2. How Many Operators Are Needed?
Staffing requirements depend on machine automation levels:
Automatic PET Blowing Machines
Operators: 1–2 skilled workers.
Responsibilities:
Monitor temperature/pressure sensors.
Perform hourly quality checks (e.g., weight, wall thickness).
Address minor errors (e.g., preform jams).
Semi-Auto PET Blowing Machines
Operators: 2–3 workers.
Responsibilities:
Manual preform loading and mold adjustments.
Frequent quality inspections (every 15–30 minutes).
Troubleshoot mechanical issues (e.g., air leaks).
Operator Skill Requirements
Training in temperature/pressure control.
Basic troubleshooting (e.g., sensor errors, mold alignment).
Safety protocol certification (e.g., handling hot molds).
Pro Tip: Cross-train operators to handle both automatic and semi-auto machines for flexible staffing.
Common PET Blowing Machine Problems & Solutions
Problem 1: Uneven Bottle Thickness
Causes:
Uneven heating across oven zones.
Misaligned molds or preforms.
Solutions:
Recalibrate oven temperatures using infrared thermometers.
Realign molds and check preform positioning guides.
Problem 2: Leakage or Weak Seals
Causes:
Worn-out O-rings or seals.
Insufficient clamping pressure during blowing.
Solutions:
Replace seals (see Section 4 for spare parts list).
Increase clamping pressure by 5–10% and retest.
Problem 3: Machine Jamming
Causes:
Foreign particles in molds.
Misaligned preforms blocking the conveyor.
Solutions:
Shut down the machine and clean molds with compressed air.
Inspect preform feeding mechanisms for alignment issues.
Problem 4: Temperature Fluctuations
Causes:
Faulty heating elements or thermocouples.
Poor insulation in oven zones.
Solutions:
Test heating elements with a multimeter; replace if resistance is abnormal.
Install ceramic insulation blankets around oven zones.
Essential Spare Parts for PET Blowing Machines
Stock these critical components to minimize downtime:
Heating Elements: Replace every 6–12 months (depending on usage).
Blowing Molds: Opt for hardened steel molds for longevity.
Air Compressors: Maintain backup units to avoid pressure drops.
Seals & O-rings: Keep 10–15 extras for emergency replacements.
Sensors & Controllers: Temperature/Pressure sensors ensure consistent cycles.
Maintenance Tips:
Lubricate moving parts weekly with food-grade grease.
Schedule monthly inspections for wear and tear.
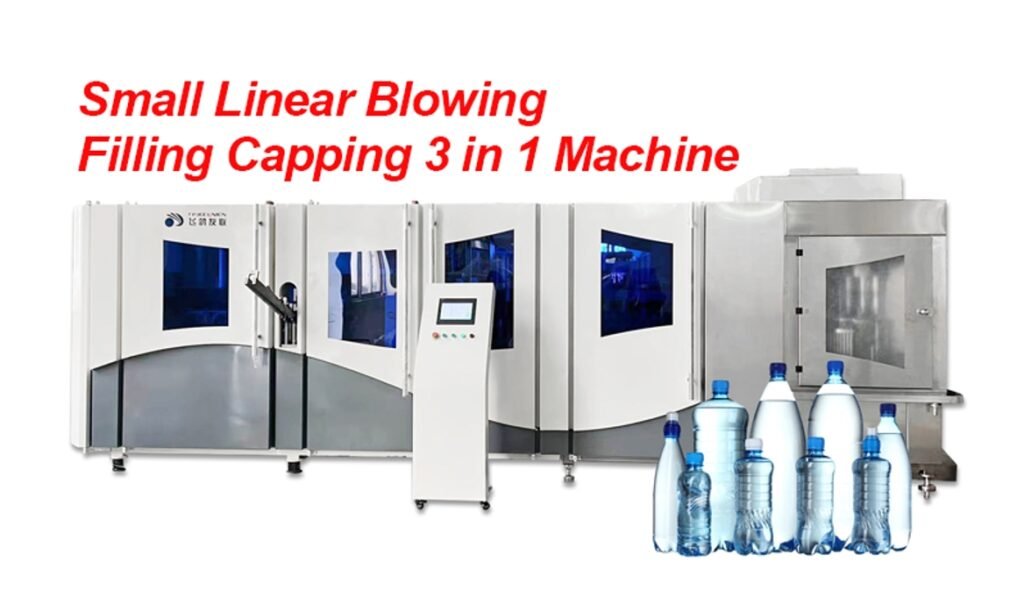
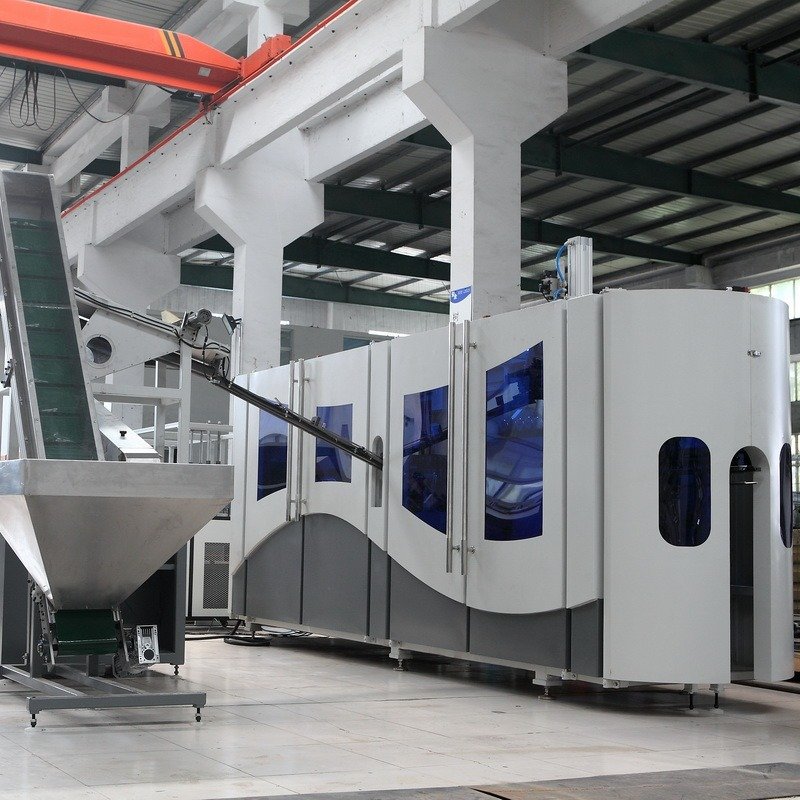
Automatic vs. Semi-Auto PET Machines: Which to Choose?
Automatic PET Blowing Machines
Pros:
High output (1,500–15,000 bottles/hour).
Minimal labor costs.
Cons:
High upfront cost (50,000–200,000).
Limited flexibility for custom designs.
Ideal For: Large-scale manufacturers with standardized production.
Semi-Auto PET Blowing Machines
Pros:
Lower cost (10,000–60,000).
Flexibility for small batches and custom molds.
Cons:
Slower output (500–1,200 bottles/hour).
Higher labor dependency.
Ideal For: Startups or businesses producing niche bottle designs.

Conclusion
Mastering PET blowing machine setup, staffing, and maintenance is key to maximizing efficiency. Automatic machines suit high-volume factories, while semi-auto models offer budget-friendly flexibility. Regularly replace spare parts like seals and heaters to avoid breakdowns, and train operators to tackle common issues like uneven thickness or leaks. For complex problems, partner with certified technicians to ensure minimal disruption.
FAQ Section
1. How long does PET blowing machine setup take?
Automatic: 2–4 hours.
Semi-Auto: 4–6 hours.
2. What qualifications do operators need?
Technical training in blow molding, safety certifications, and troubleshooting experience.
3. How often should I replace PET blowing machine molds?
Every 2–3 years for steel molds (with proper maintenance). Inspect quarterly for cracks or wear.