Skip to content
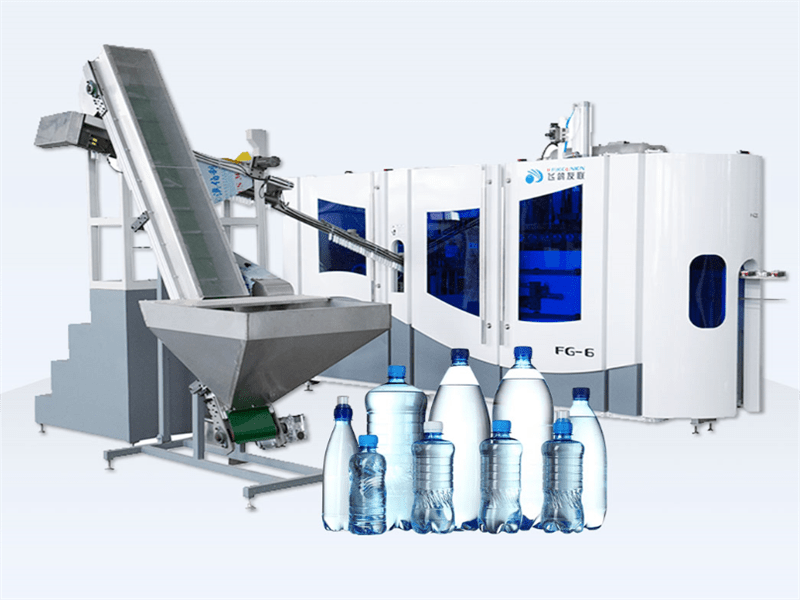
Optimizing PET bottle production requires solving common defects that impact quality and efficiency. The Previous post analyzes 8 Common Problems in PET Bottle Blowing, their causes and proven solutions to maximize your bottle blow molding success. In this article, we will continue to introduce other possible issues.

01. Molding Line Flattening (Flat Bottle)
Symptoms:
Vertical side molding line appears flattened
Mold separation tendency under blowing pressure
Causes:
Gas trapping in exhaust holes along molding line
Blocked/leaking mold compensation air pipes
Worn mold shell rubber rings
Excessive mold gap (>0.2mm)
Worn positioning pins/bushings
Solutions:
Reduce high-pressure air supply rate
Drill additional vent holes (0.5–0.7mm diameter) along molding line
Test/replace mold compensation air components
Adjust mold clamping gap to 0.1–0.2mm
Replace worn positioning pins and bushings
Pro Tip: Combine pressure reduction with vent hole optimization to prevent cooling time loss.

02. Bottle Bottom Wrinkles (“Volcanoes”)
Symptoms:
Internal/external creases near preform base
High explosion/breakage risk
Causes:
External Wrinkles:
Insufficient pre-blow pressure
Low preform bottom temperature
Internal Wrinkles:
Preform base overheating
Delayed pre-blow timing
Solutions:
Adjust pre-blow pressure (Typical range: 8-12 BAR)
Optimize bottom temperature (Use IR thermometer to verify)
Sync pre-blow with stretching start (Max 0.3s delay)

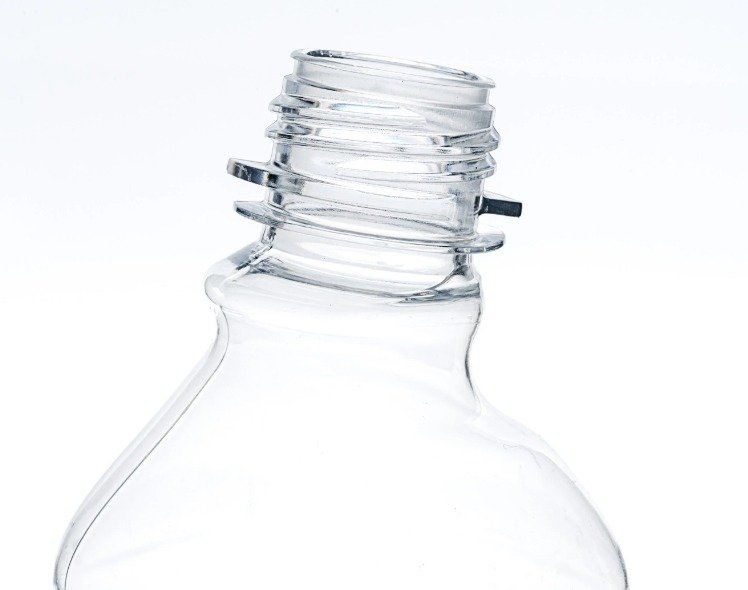
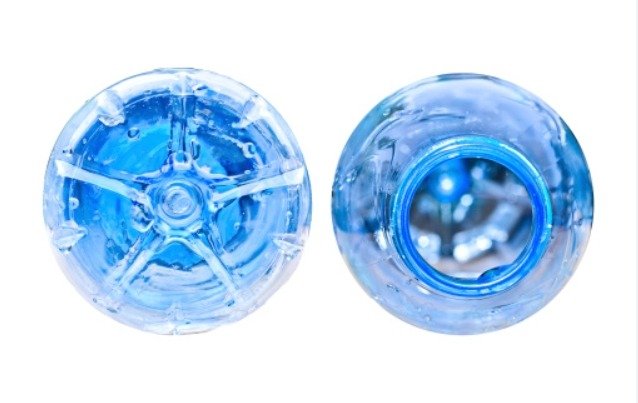
03. Bottle Neck Wrinkles (“Neck Bands”)
Symptoms:
Internal folds 5–8mm below convex ring
External palpable creases
Causes:
Over-stretching of preform’s conical section
Rapid cooling of thin material during stretching
Solutions:
Reposition hot spots toward bottle body
Advance pre-blow timing (Verify solenoid valve function)
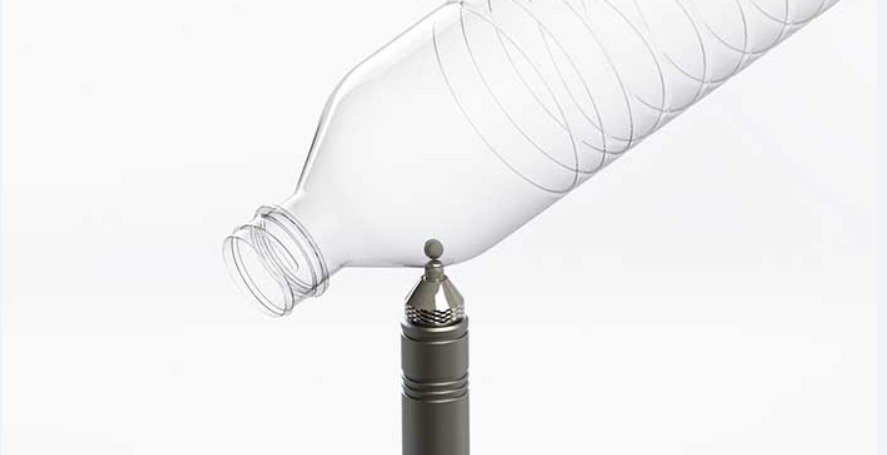
Inspect blow nozzle components:
Cylinder seals
Spring tension
Distributor alignment
04. Bottle Neck Accumulation (“Flower Neck”)
Symptoms:
Wavy stripes 5–8mm below convex ring
Irregular/oval-shaped convex ring
Causes:
Premature preform cooling in mold
Early pre-blow during stretching
Solutions:
Reduce pre-blow pressure (Max 25% reduction)
Delay pre-blow intake by 0.1–0.5s
Increase Zone 1 heating (+5–10% power)
Lower lamp frame height (2–3mm increments)
Balance Zone 2-5 temperatures based on bottle thickness
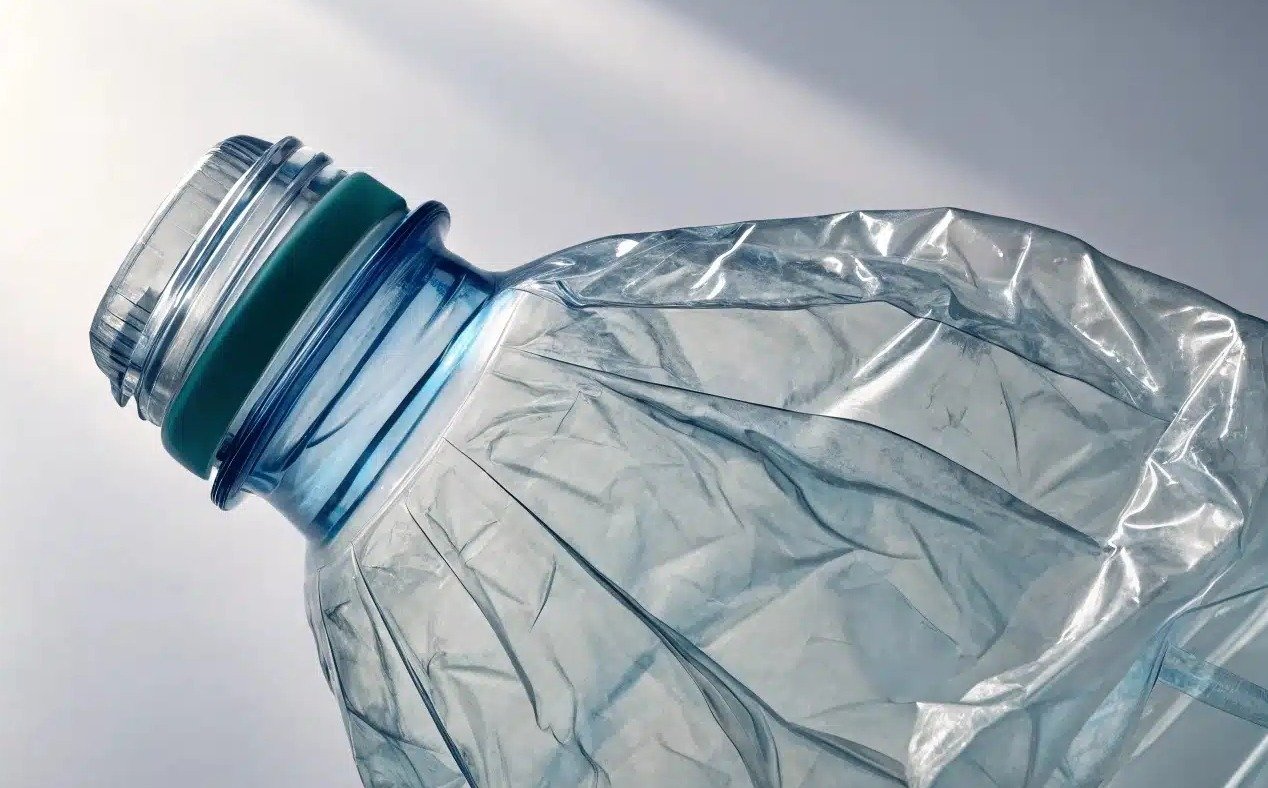
05. Eccentric Bottle Bottom
Symptoms:
Non-concentric bottom structure
White discoloration at bottom corners
Low stress resistance
Causes:
Mechanical:
Misaligned preform/mold
Bent stretching rod
Improper buffer pad adjustment
Electrical:
Excessive pre-blow pressure
Early pre-blow intake
Solenoid valve issues
Solutions:
Triple-alignment check:
Preform ↔ Mold cavity
Blow nozzle ↔ Mold center
Stretching rod ↔ Sprue point
Replace bowed stretching rods
Clean/replace solenoid valves
Clear exhaust silencers
06. Pearlescent White Base Angle
Symptoms:
Iridescent streaks at bottom corners
Abnormal material thinning
Causes:
Excessive stretching beyond material limits
Insufficient material distribution
Solutions:
Verify extension gap = ⅔ × Preform bottom thickness
Extend pre-blow time by 10–20%
Reduce pre-blow pressure
Ensure smooth stretching rod operation:
Lubricate guides
Replace worn linear bearings
07. Material Distribution Problems
Symptoms:
Uneven wall thickness
Weak structural zones
Causes:
Temperature gradient imbalance
Incorrect stretch rod speed
Mismatched pre-blow timing
Solutions:
Implement zone-specific heating control
Use thickness mapping software
Optimize stretch rod acceleration curve
Prevention Framework: Quality Assurance
Daily Checks
Mold vent hole inspection
Stretching rod alignment verification
Weekly Maintenance
Solenoid valve cleaning
Cooling system flow tests